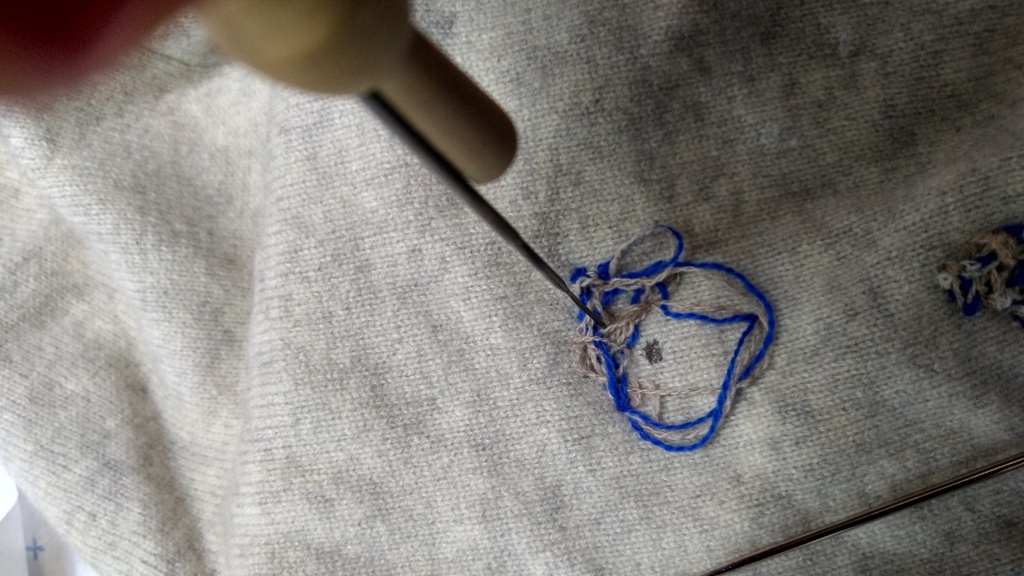
This week we created a live story on Instagram showing a lovely simple visible mending technique that requires no sewing. Yes, no sew visible mending, it is a very simple craft, focused for adults, where you can therapeutically visibly mend your old damaged knitwear.
The live video is available here on IGTV to see how simple the process is. Please feel free to send DM’s or comments with any questions you may have, as well as any suggestions on what you can do with needle felting craft.
We thought to outline the simple process here, as usually needle felting is used for craft projects like making 3D shaped items using woollen raw fibre (this is when the wool has not been twisted for knitting) It is a lovely craft and past time to do, however we have adapted it to use waste yarn to visibly mend your knitwear, it can also be used to mend most fabrics, so t-shirts for example.
The art of upcycling does not have to be hard, it can be really simple and a great way to save your clothes from landfill. The purpose of this live workshop, is to teach people you can mend items and re-invent them in fun ways, without needing sewing skills or even to spend very much. Many craft suppliers sell the kits for under £10. The items you will need are as follows:
- Good quality crafting sponge
- Needle Felting needle, order spares as they can break
- Scrap yarn ideally wool or cashmere (fuses better)
- Cutting matt to protect your surface
- Scissors
- Item to mend
Here is the workshop step by step for you to follow in your own time.
- Take your sponge and place on a hard surface, ideally with a cutting matt or magazine to not damage your table.
- Locate the whole and place as flat as possible on the sponge.
- Use the felting tool and fabric holder needle to place your scrap yarn around and on top of the whole. WARNING- try to avoid using your other hand to hold down your yarn, the felting needle is very sharp and can be very painful.
- Once happy with the colour and position of the waste yarn, start poking the needle completely strait down, not diagonally, this is very important as if not poked strait down it will bend and break the needle very easily.
- Repeat this action several times until the damaged area is covered up, you will then see the back of the knit that the scrap yarn has come through, this means it is working and should stay, the more you poke the more it fuses together.
- It’s that simple, you can be as neat or as messy as you want, you can even be very decorative and write your initials or have flower motifs.
We have also created a different style where we used patches of scraps of knitwear and used a multi needle felting needle to cover more surface area to do the same thing. We created this 3D box look patch to cover up an elbow whole. Very common area to wear away, so this is very useful to learn, it is the same technique as the single needle. You can use either scrap fibre on top of the patch, which we think adds another lovely block of colour, or you can directly fuse the knits together. Remember wool and cashmere is the best to fuse the fabrics together due to their fibrous nature. However, you can use needle felting with fibres onto cotton tote bags.
You may be interested in our live workshops in the future, have a look here if you like to up cycle in person eventually when we can, here is an example of our previous mending workshops.
Reel to view a similar clip available here.
